A teacher recently asked me to co-plan a lesson with her and then co-teach it. She wanted to teacher scatterplots and found this activity, but she wanted my support in planning and teaching the lesson.:
https://teacher.desmos.com/activitybuilder/custom/5ae8aa5436ae340a1d96ad4c
We began by printing the Teacher Guide to see if the activity’s author provided any suggestions for pacing and pausing. Nope…so we looked at the slides to determine where we would pause the activity for a whole-class conversation and also to determine how we would pace the lesson.
Planning ahead of time which groups of slides students will have access to and when you will pause to conduct meaningful whole class conversations is essential to getting the most our of your Desmos lesson.
– – – – – – – –
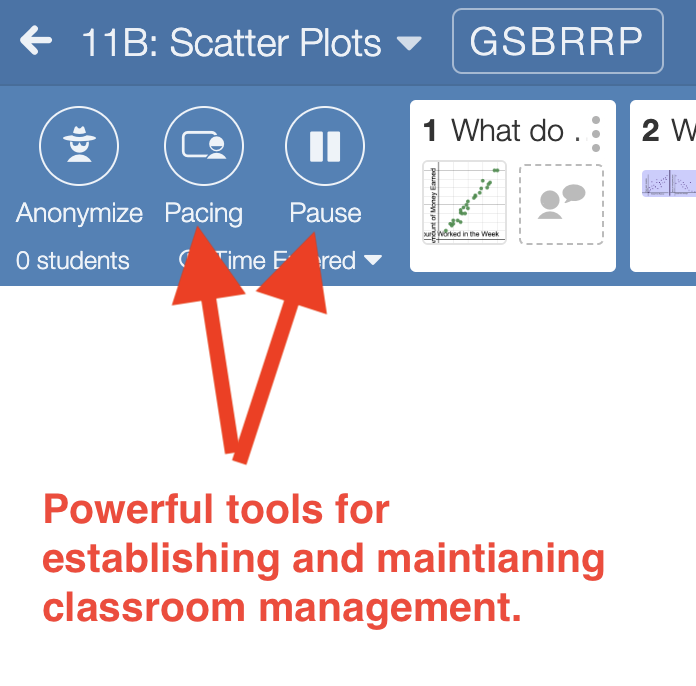
For those new to Desmos, some quick descriptions of the dashboard:
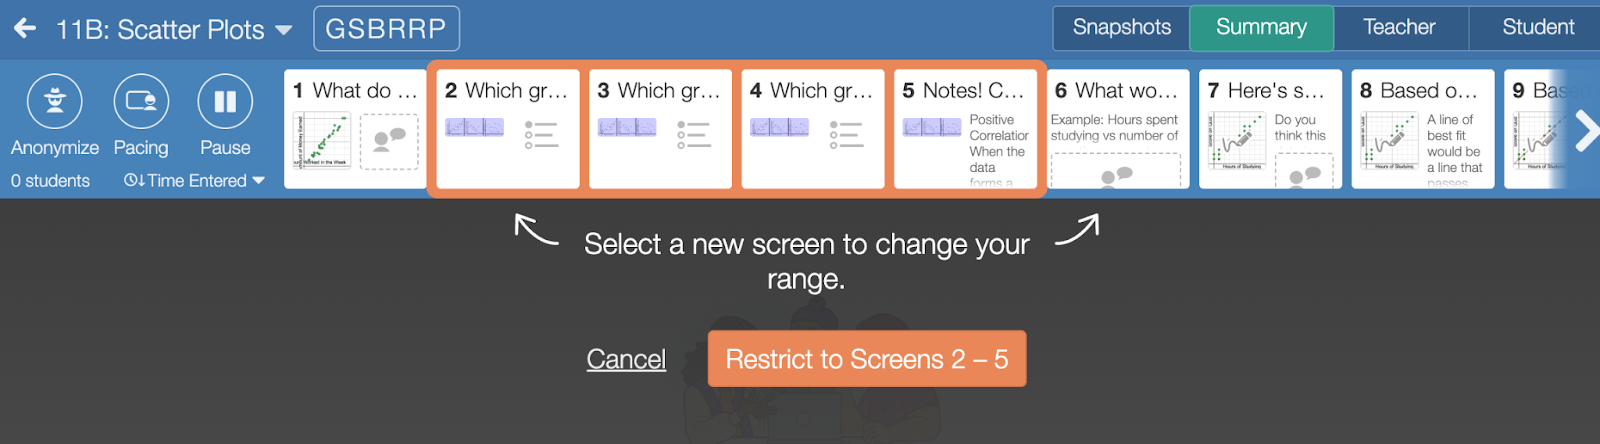
Pacing: Press the pacing button to lead students through the activity one section at a time. A section might be a single slide or a group of consecutive slides.
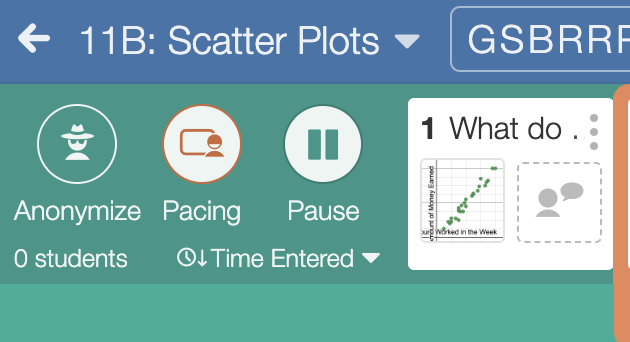
Pausing: The pause button prevents students from continuing to work on the activity, which then allows you to lead a class discussion to consolidate learning from the previous slides or to prepare students to upcoming slides. Unpause when the class discussion is finished and you are ready for students to continue working.
While the class is paused, be sure to plan what you want to discuss during those whole-class conversations. What do you need students to learn during this conversation such that they will be successful with the next set of slides?
– – – – – – – – – – – – – – – – –
In looking at the slides, we decided the following:
- Pace Slide 1 only then pause for a class discussion: reminder of what we have learned in previous lessons.
- Pace Slides 2 – 5. Navigate the room to assist students as needed. When most students have reached Slide 5, we will pause for a class discussion: how to recognize whether a scatterplot shows a positive or negative correlation or no correlation.
- Pace Slide 6 only then pause for class discussion: check for understanding that students understand positive correlation.
- Pace Slide 7 only, then pause for class discussion: be sure this discussion prepares students for the next section of slides.
- Pace Slides 8 – 11. Pause at Slide 11 for class discussion: are students correctly reading the scatterplots and interpreting the information correctly? Show how to find slope and y-intercept of the estimated line of best fit.
- Pace Slides 12 and 13. Whole class discussion: check for understanding
- Pace Slides 14 and 15. Whole class discussion: check for understanding
We scribbled our pacing and pausing on the printed teacher guide, which ended up looking like this…
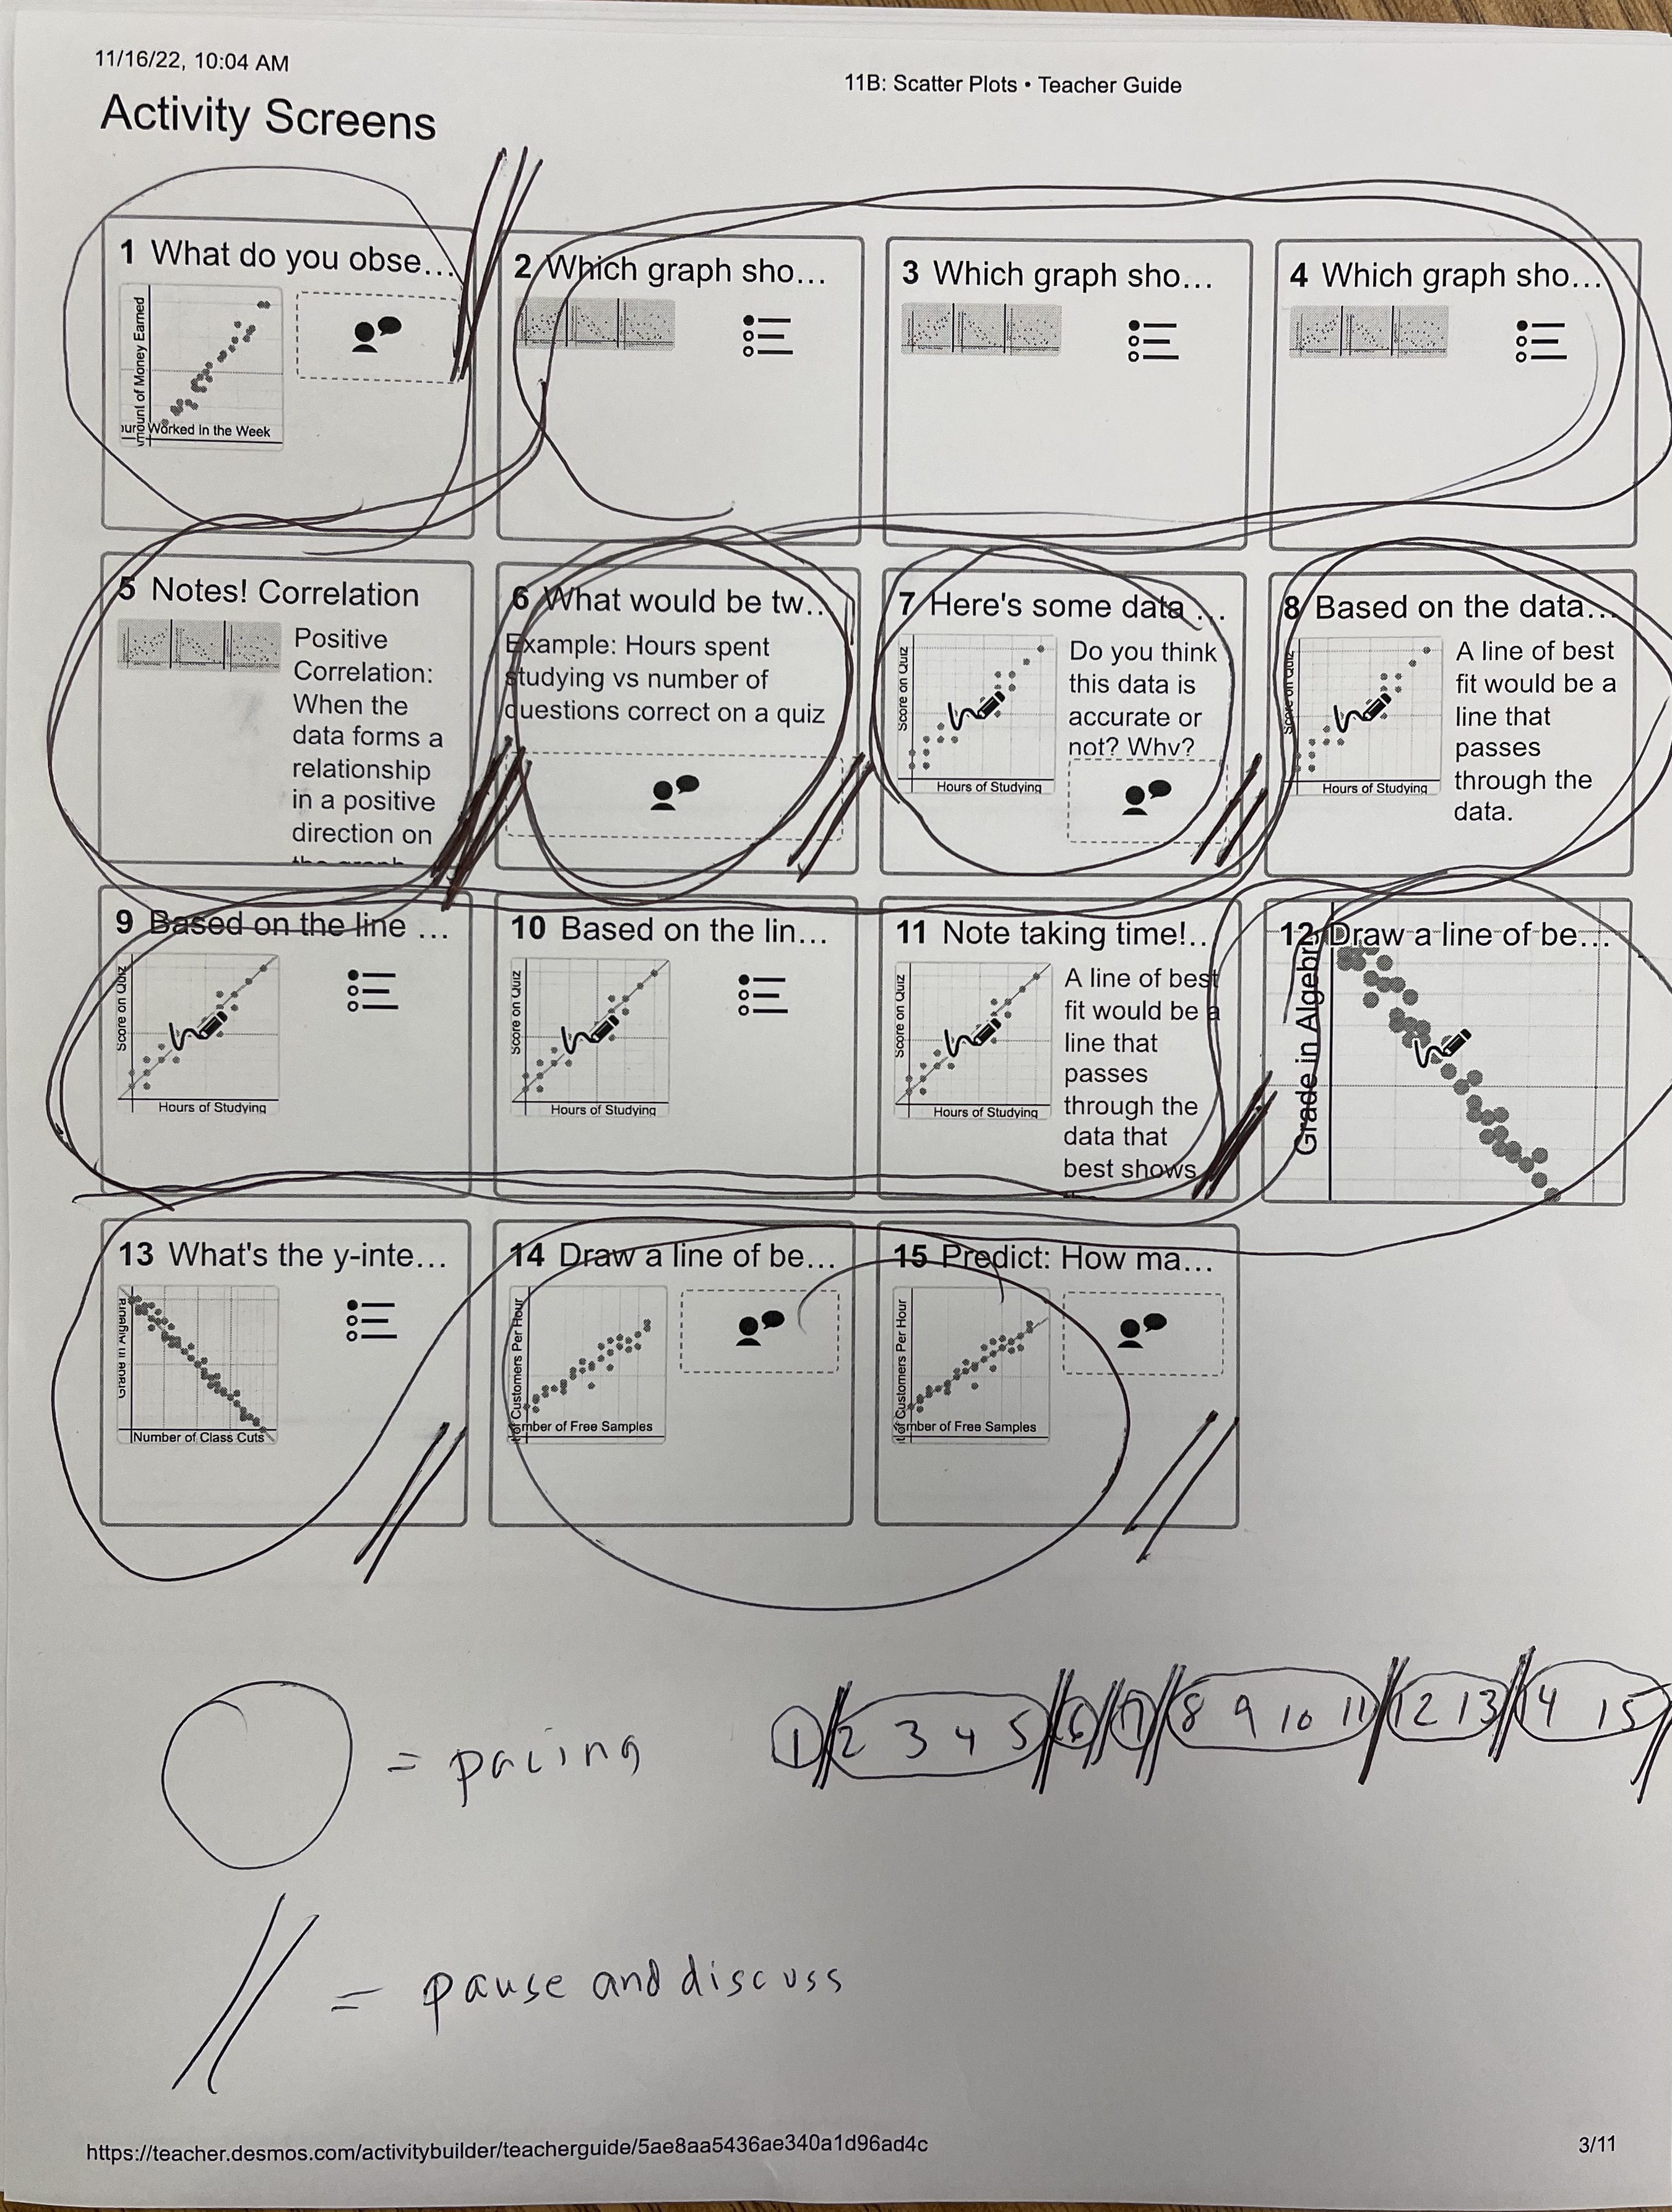
I often notate my pacing and pausing on a card that I keep in my pocket while teaching. It looks as follows:
1 // 2, 3, 4, 5 // 6 // 7 // 8, 9, 10, 11 // 12, 13 // 14, 15
The double slash indicates where I will pause Desmos to have a whole-class conversation.
With a clear plan for how she was going to pace students through the slides, when she would pause for class discussions, and the purpose for each class discussion, we then co-taught an awesome, student-centered, discourse-rich lesson.
It is clear that strategically using the PACING and PAUSE buttons helps a lot with classroom behavior management!
To wrap things up: I often see Desmos used in a less-than-efficient way in which students are given unfettered access to ALL the slides and are not given the opportunity to occasionally pause and consolidate their learning before moving on.
Consider strategically planning your pacing and pausing when using a Desmos activity.
.
.
.